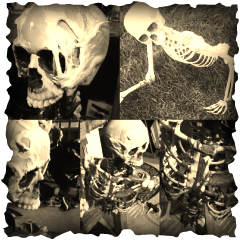
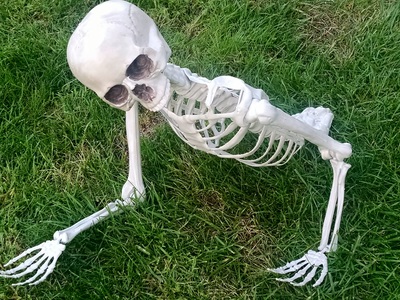
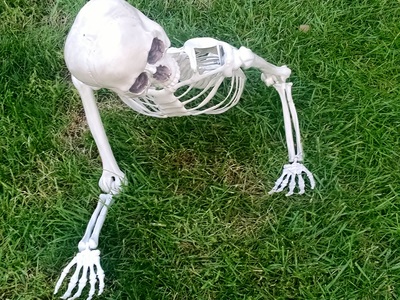
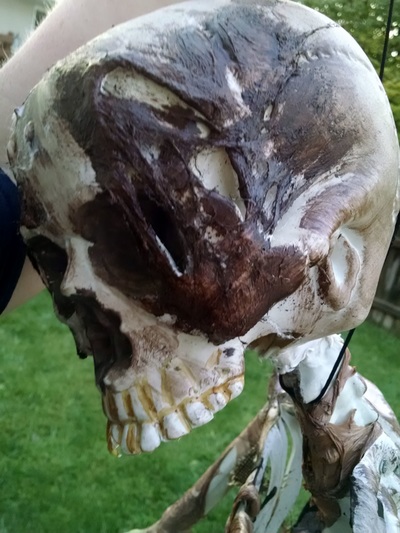
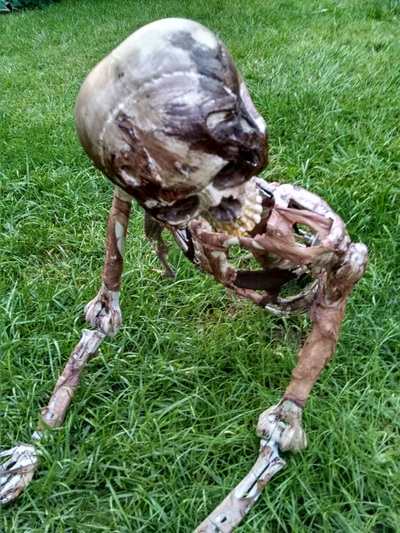
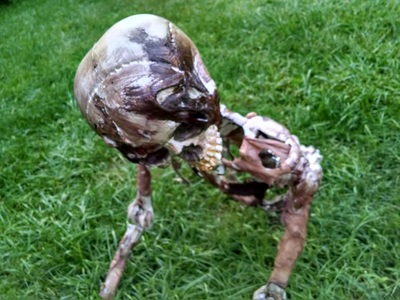
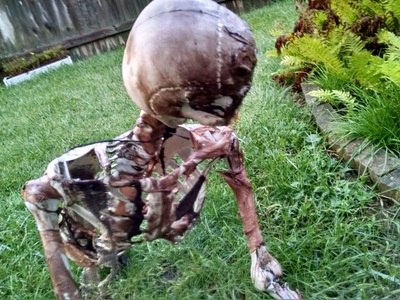
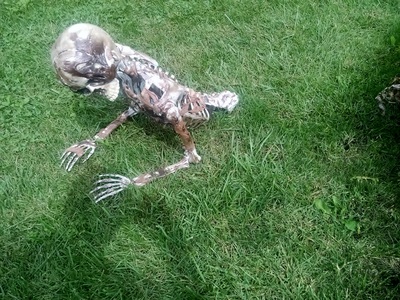
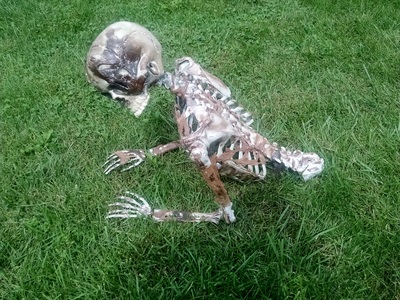
Materials used listed here and pictures/video below:
- 5 ft. pose-able skeleton. They are expensive but I had points at Walgreen's ($35 worth) and the skeleton was priced at $39.99, so I walked out with it for $5..woo-hoo! I then removed the legs and hips from the skeleton as well as the jaw.
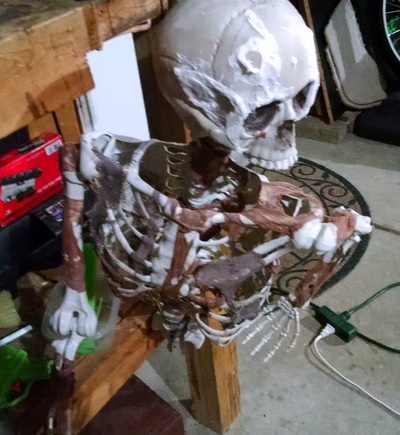
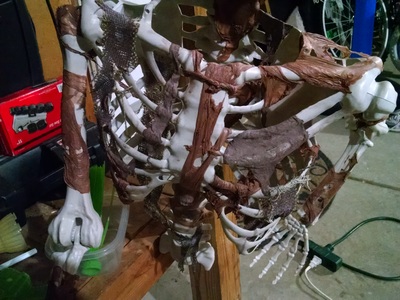
- Burlap scraps that were left over from my original ground breaker. - used for hanging rotting pieces on the ribs.
- Plastic grocery bags from Kroger. I used the Kroger bags specifically because they are already brown. I then use a heat gun and melt those bags onto the skeleton (aka corpsing).
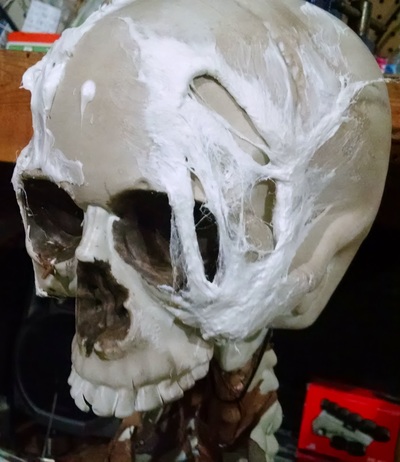
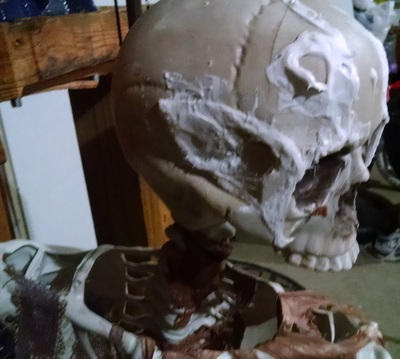
- Cotton balls and latex caulk. Put caulk on the cotton balls and then formed them on the skull and across the eyes sockets, etc. to give the skull a corpsing look. I also used this technique on a couple of the ribs to go along with the burlap and plastic bag corpsing.
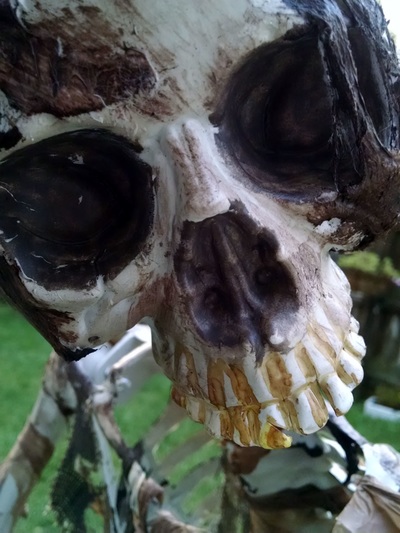
- Utility knife, brown, and yellow permanent markers. Cut out the plastic under the upper teeth where the lower jaw used to cover it up. Then used utility knife to cut between all the teeth to make them appear more realistic. I then used the brown marker and yellow marker on the teeth and gums to give them a decaying effect.
- Brown stain gel - dry brushed this over the rest of the skeleton where I did not corpse it.
- Clear spray paint coating. Went over the whole skeleton ground breaker with clear acrylic spray to save it from the weather elements.
Enjoy the pictures, let me know if you have any questions, thanks.

