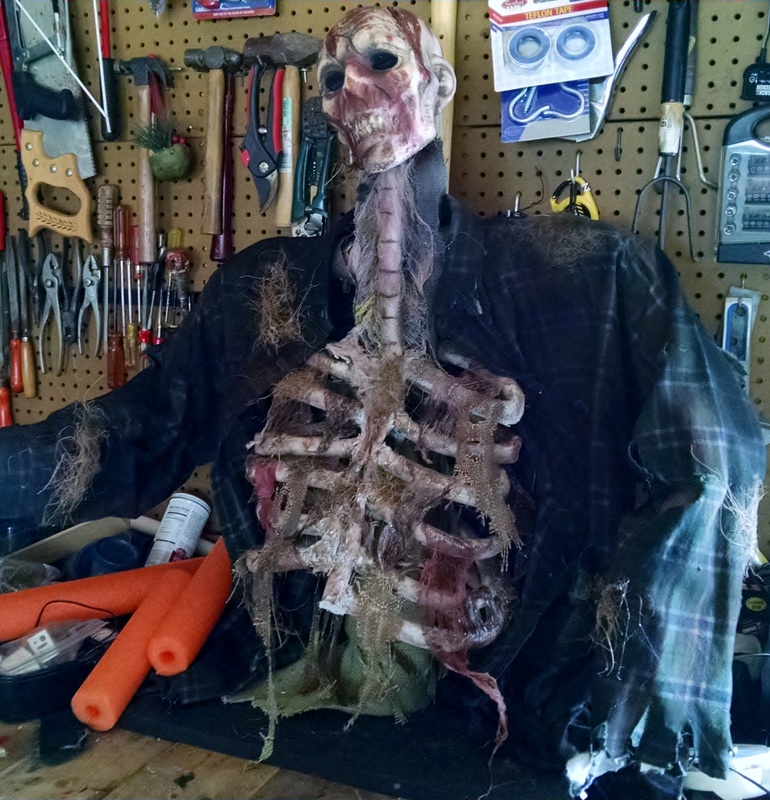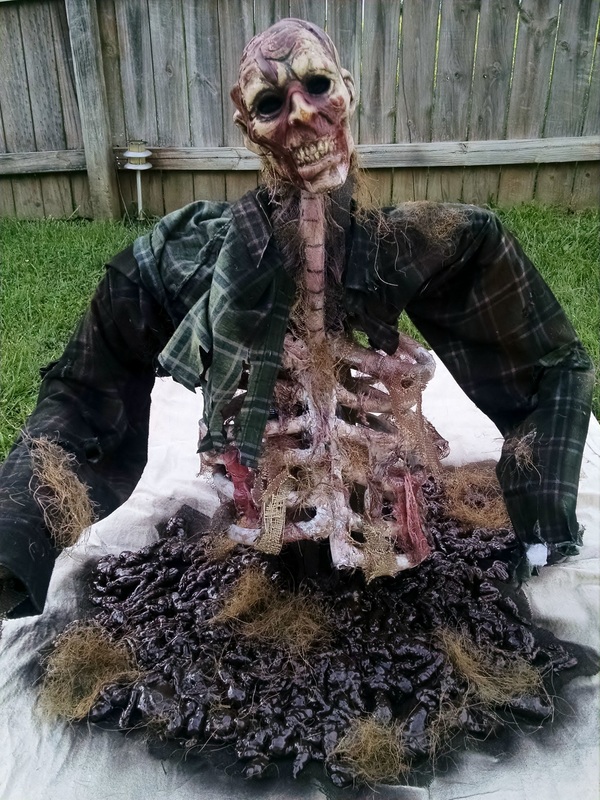
Materials used listed here and pictures/video below:
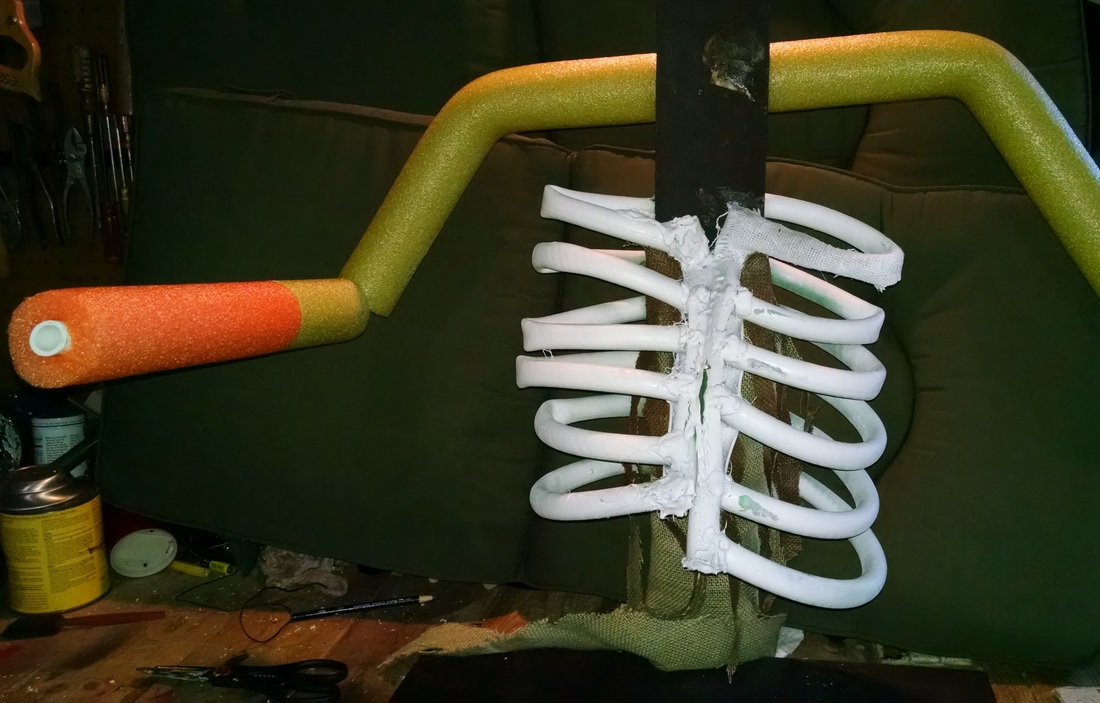
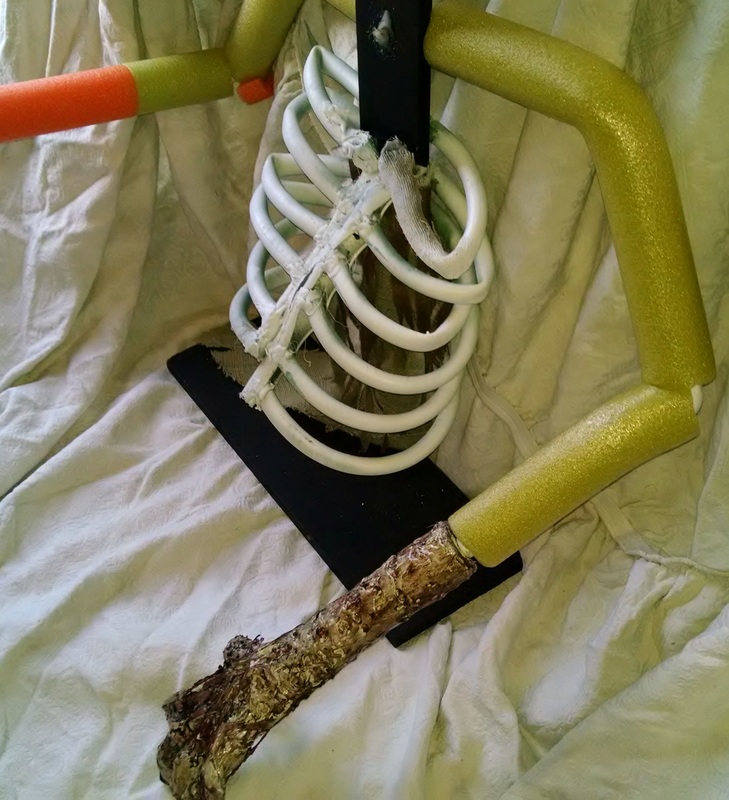
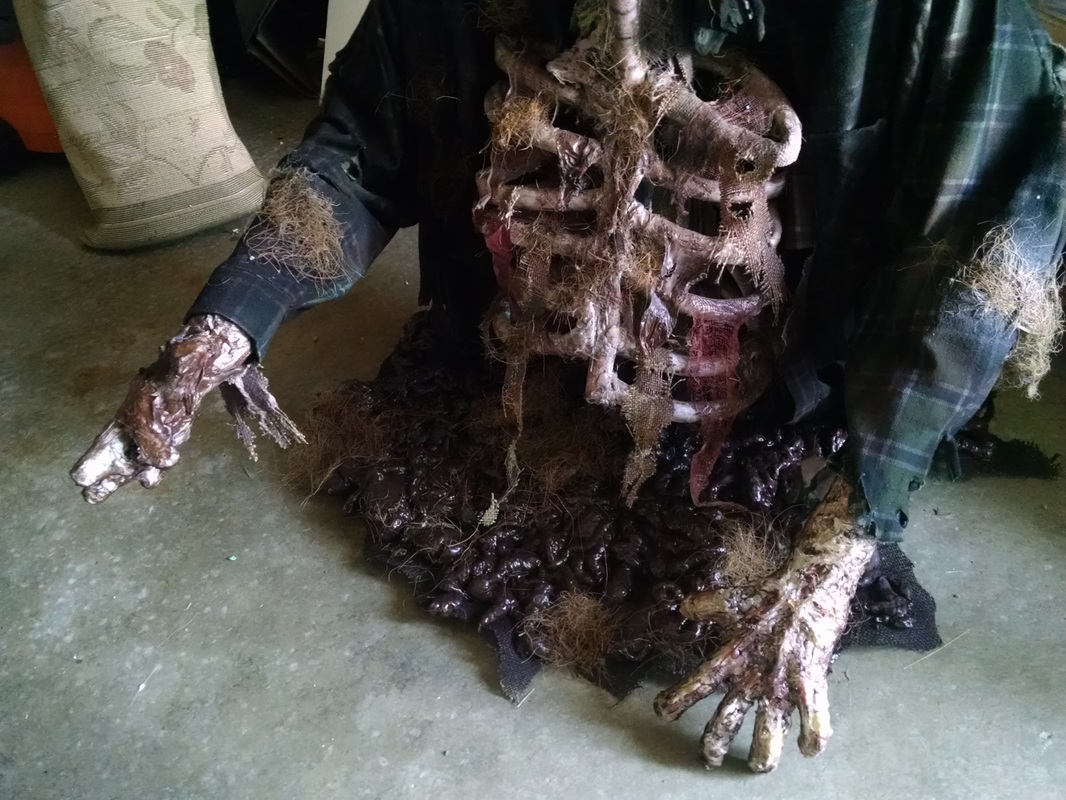
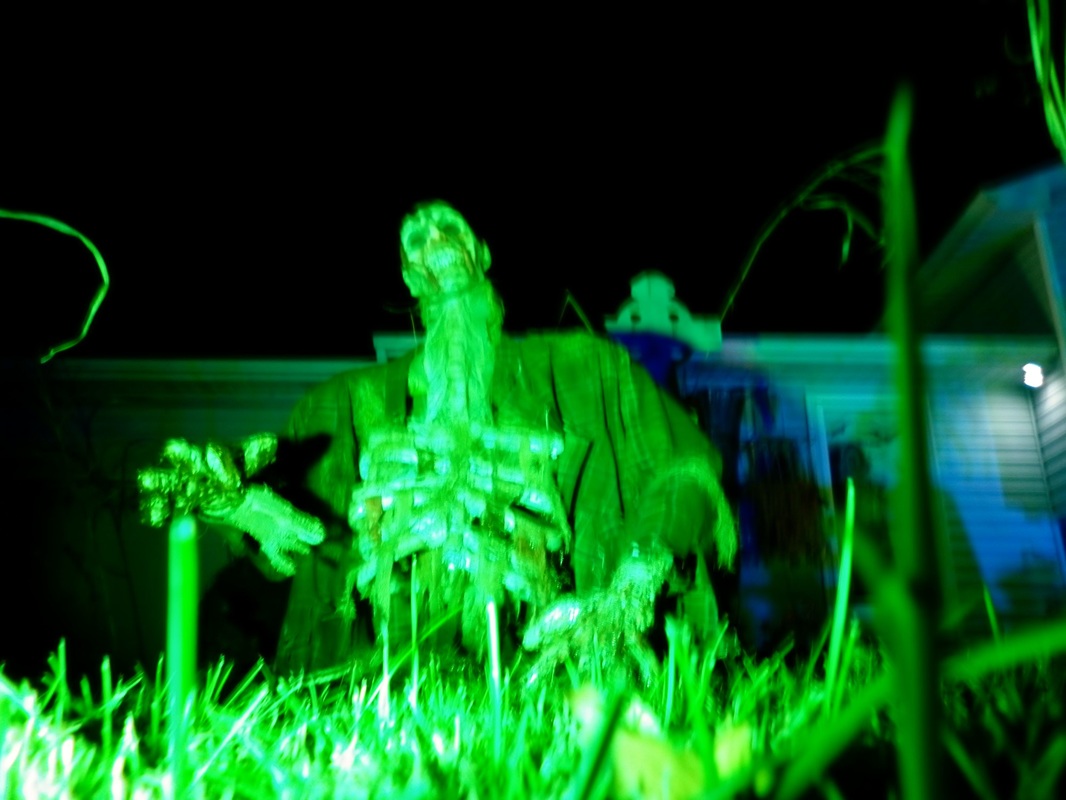
- Two pieces of scrap wood. Covered them in Truck Bed Liner Spray to combat the weather elements and screwed them together, creating an upside down T. This way the prop had a base and long lean part of wood upward. Plus I drilled holes in the base of it so I can stake it down
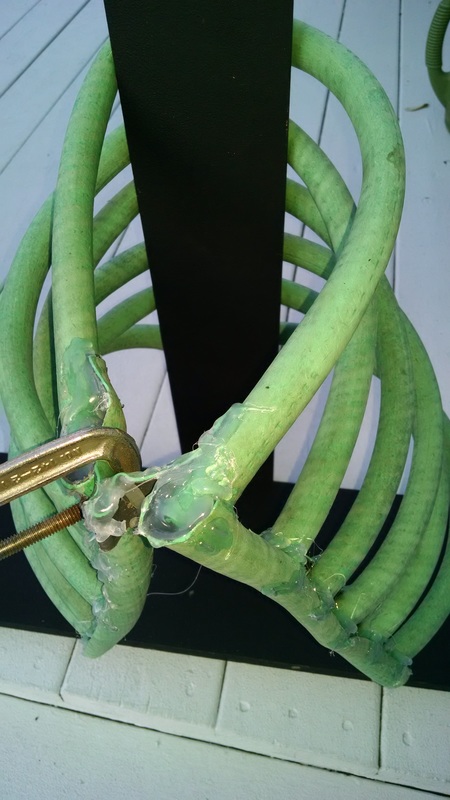
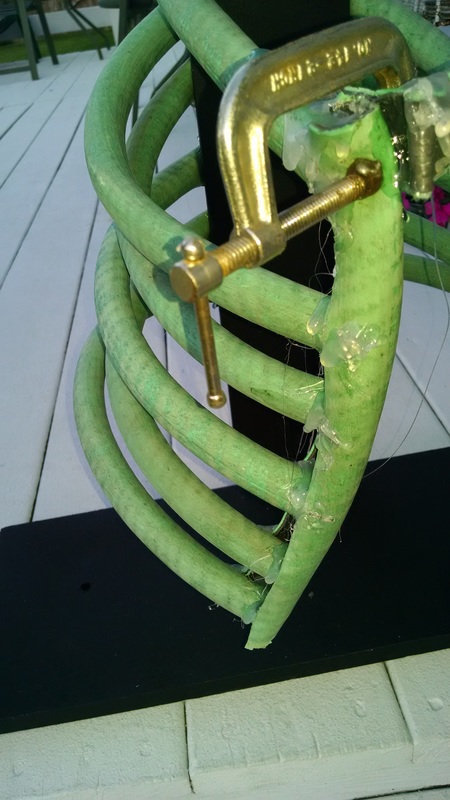
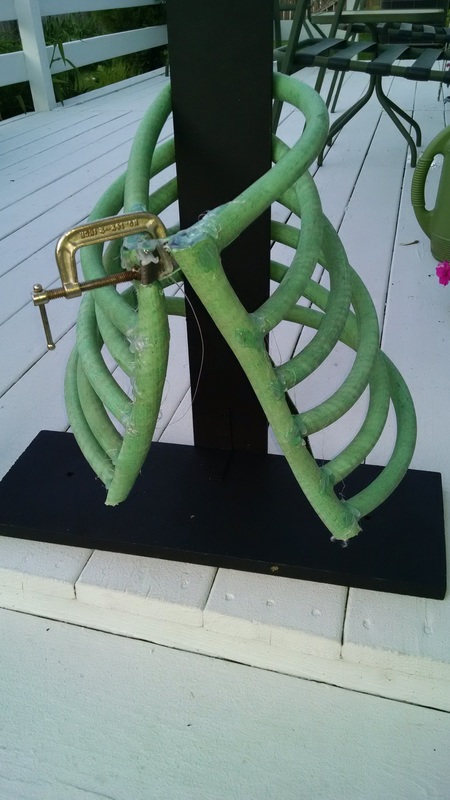
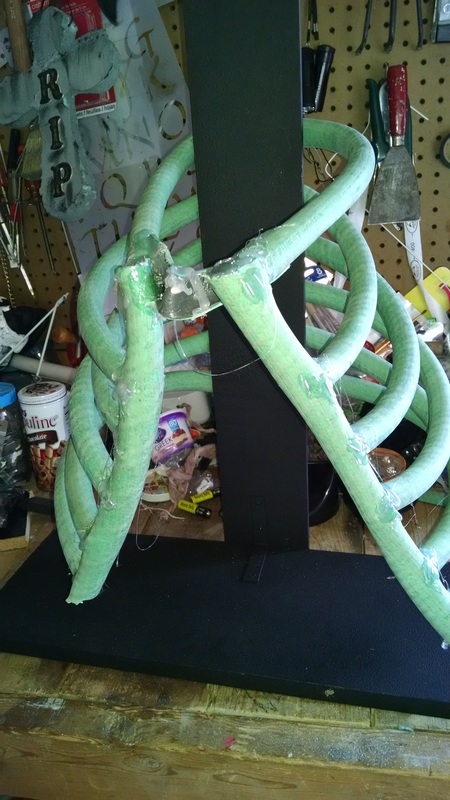
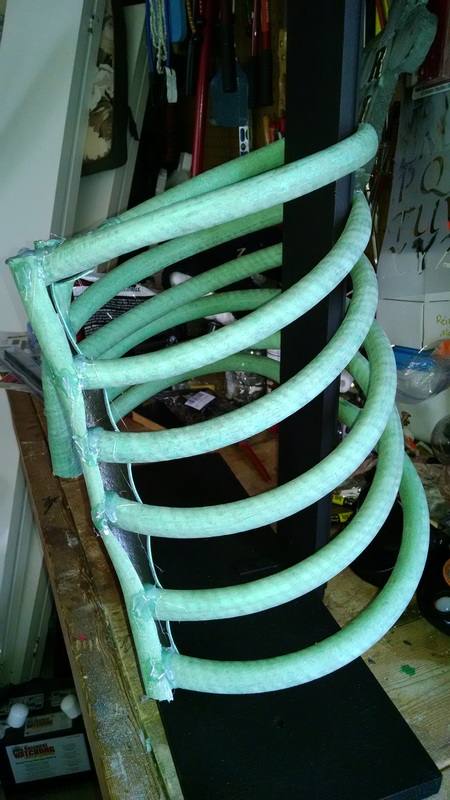
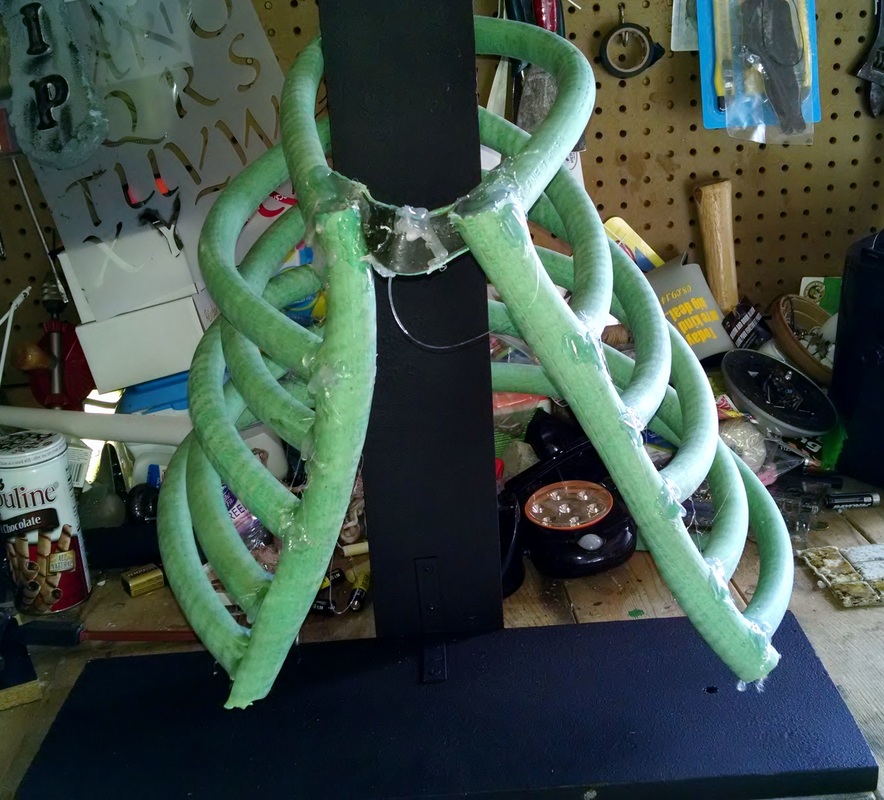
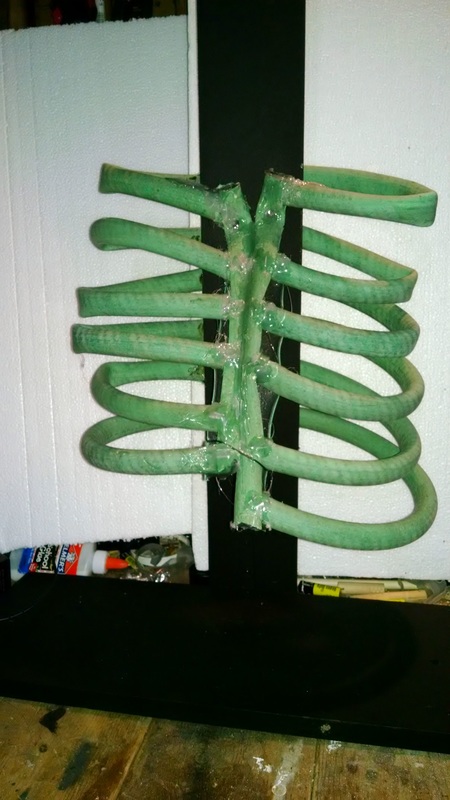
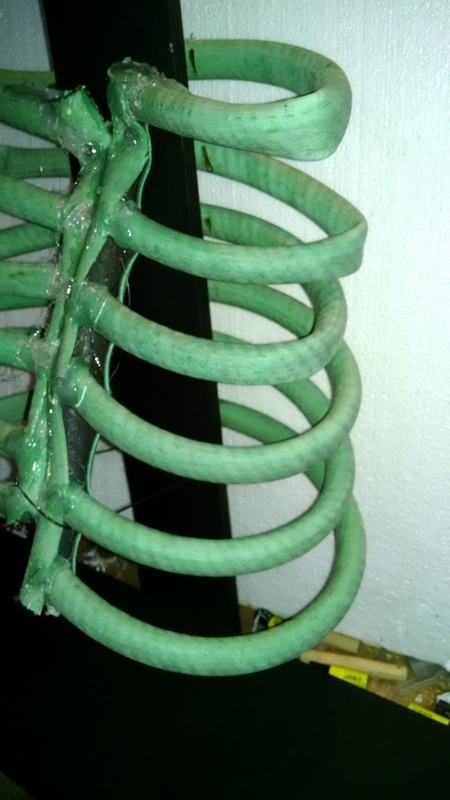
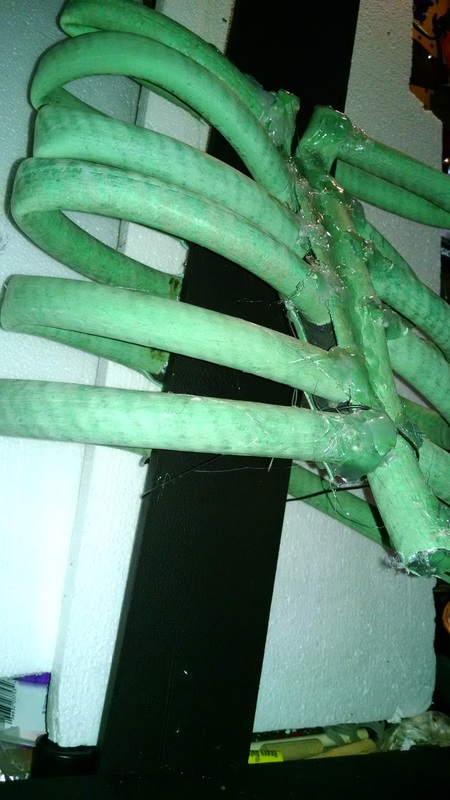
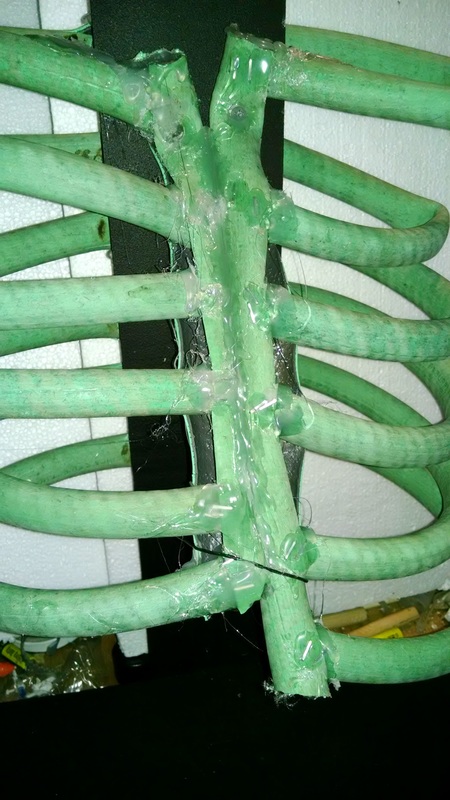
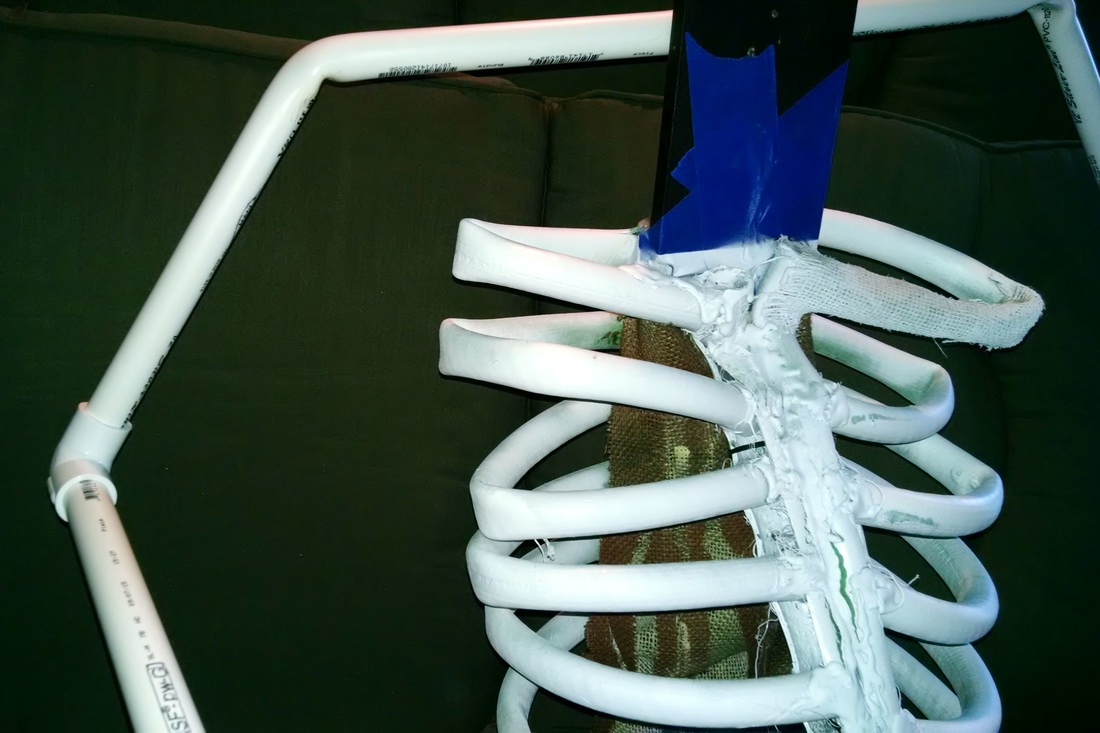
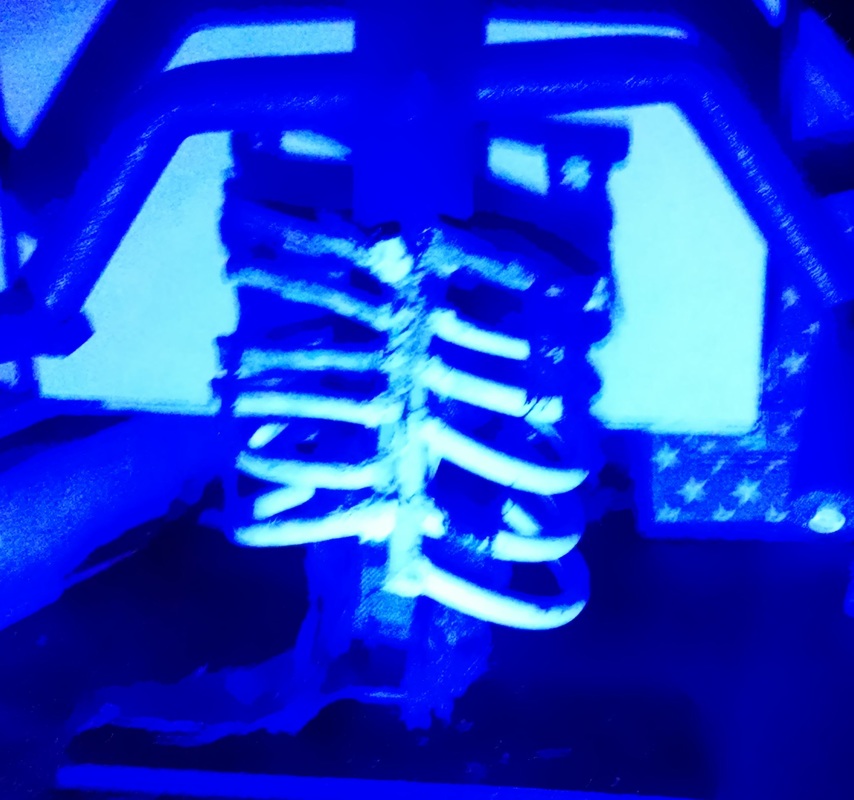
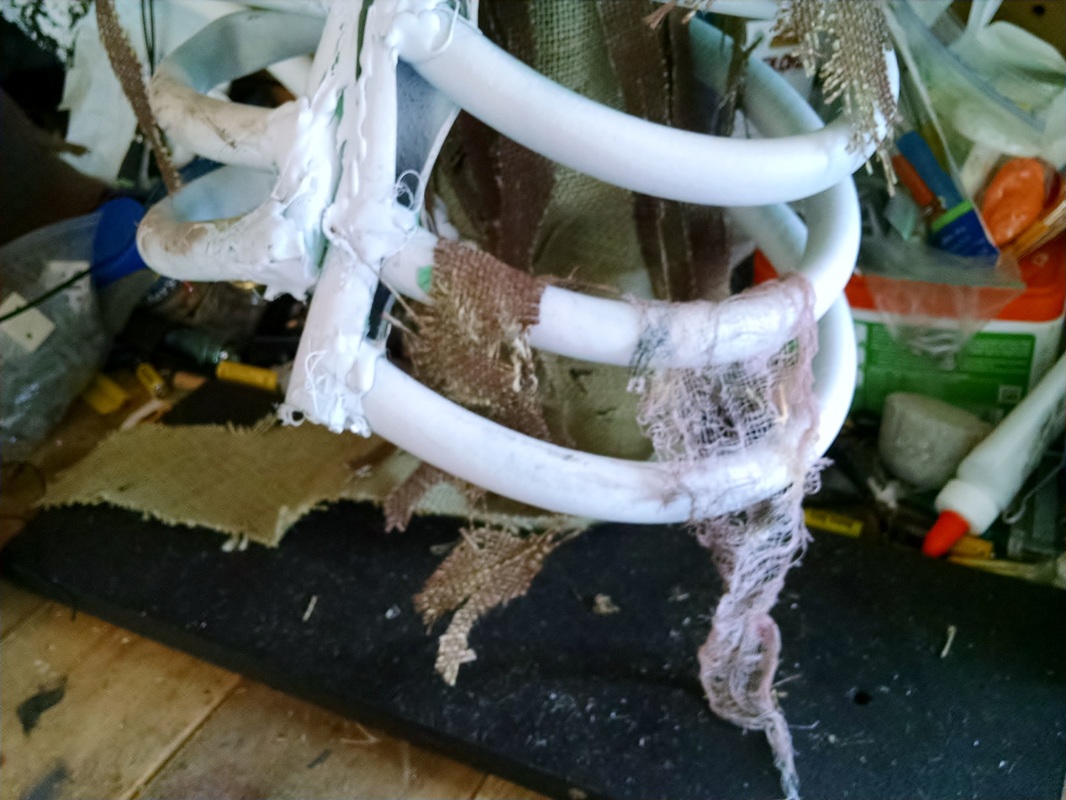
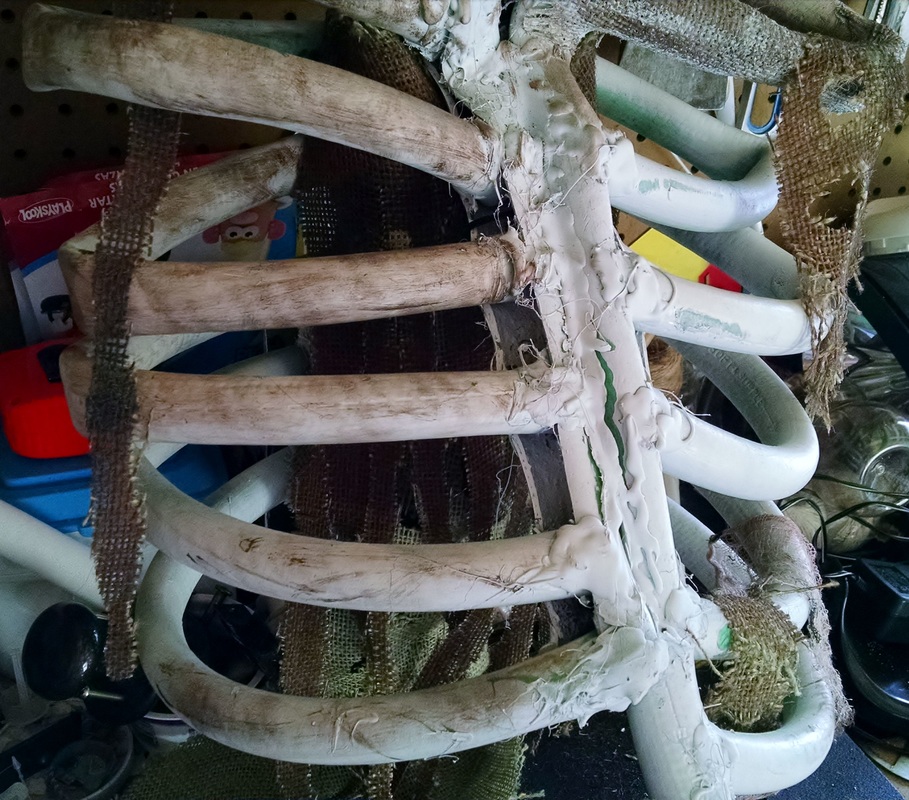
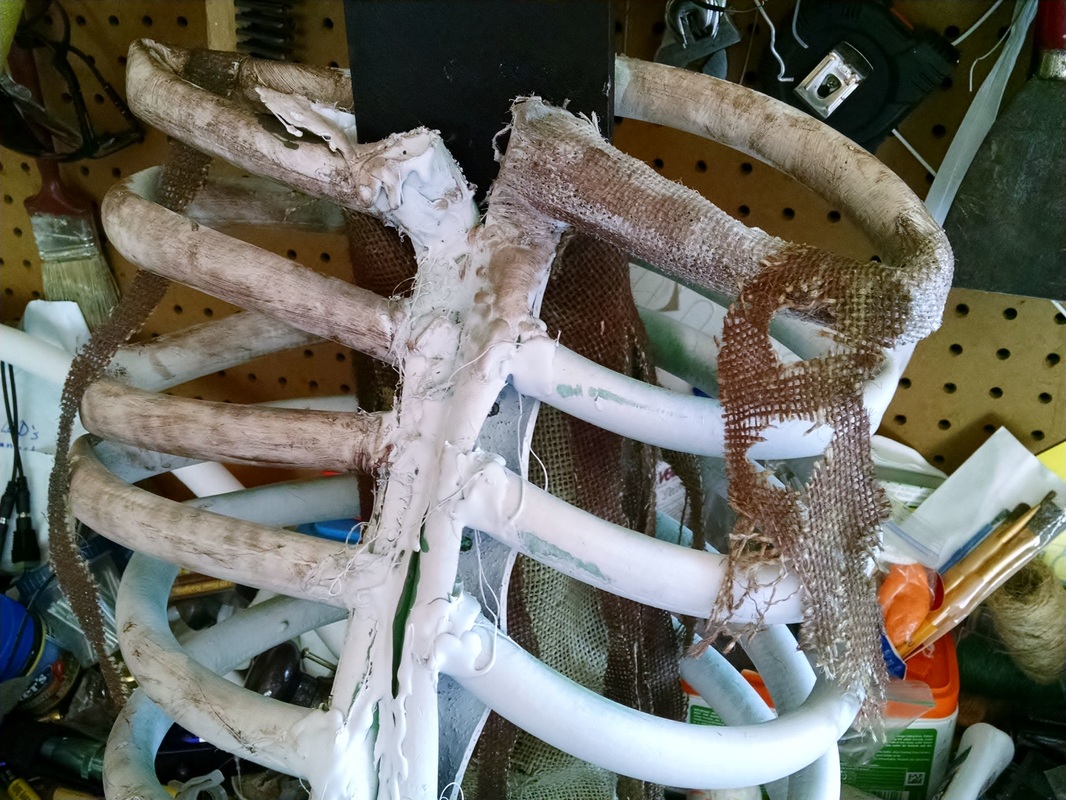
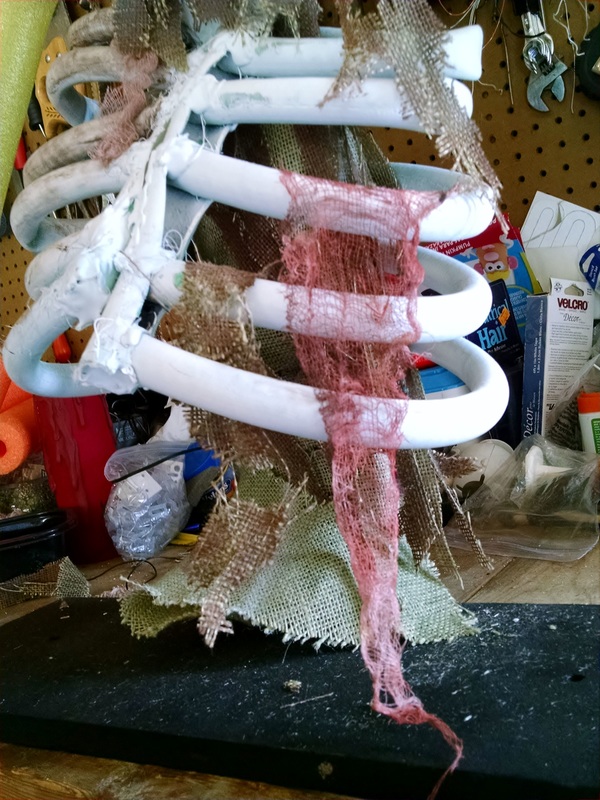
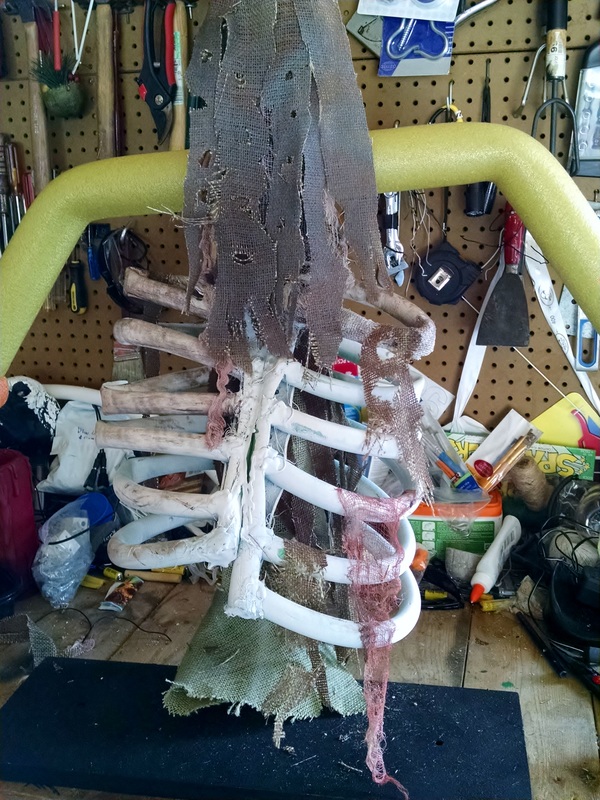
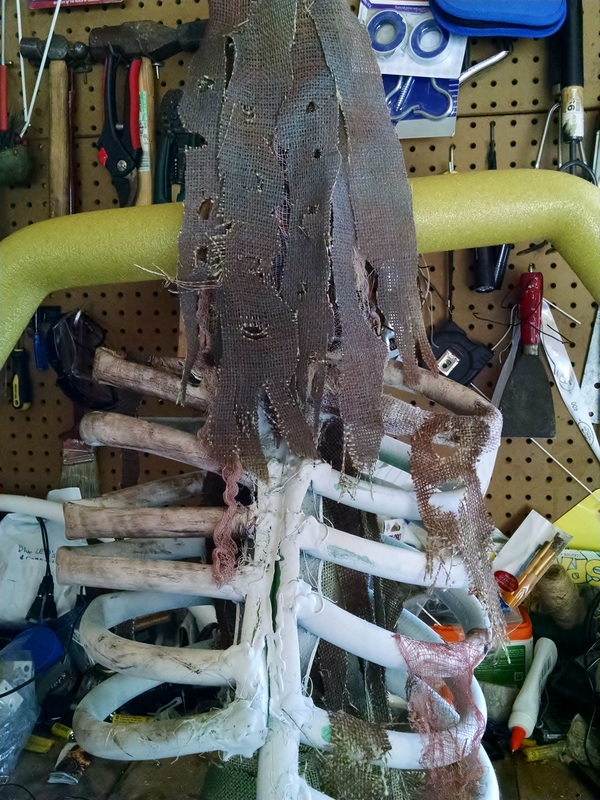
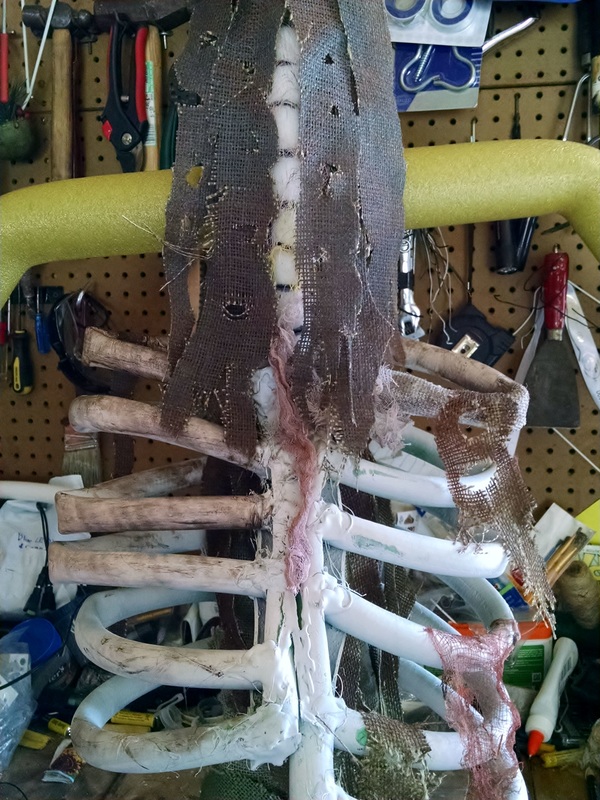
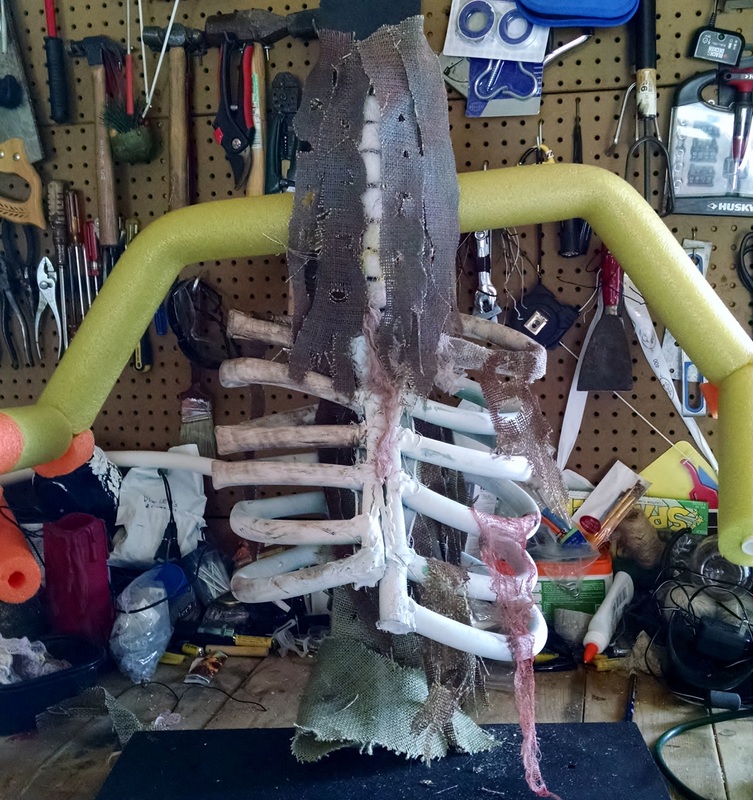
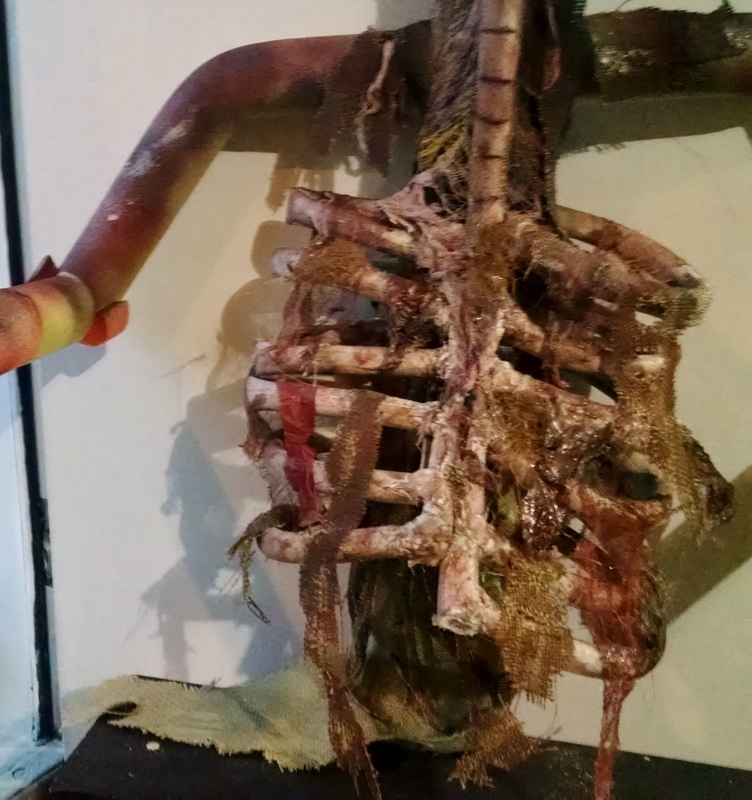
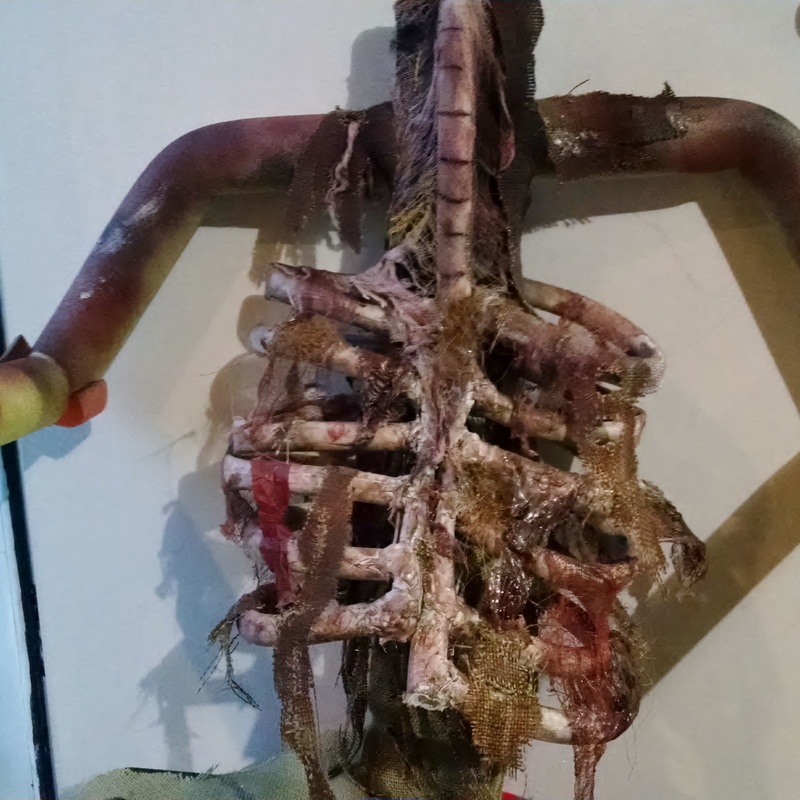
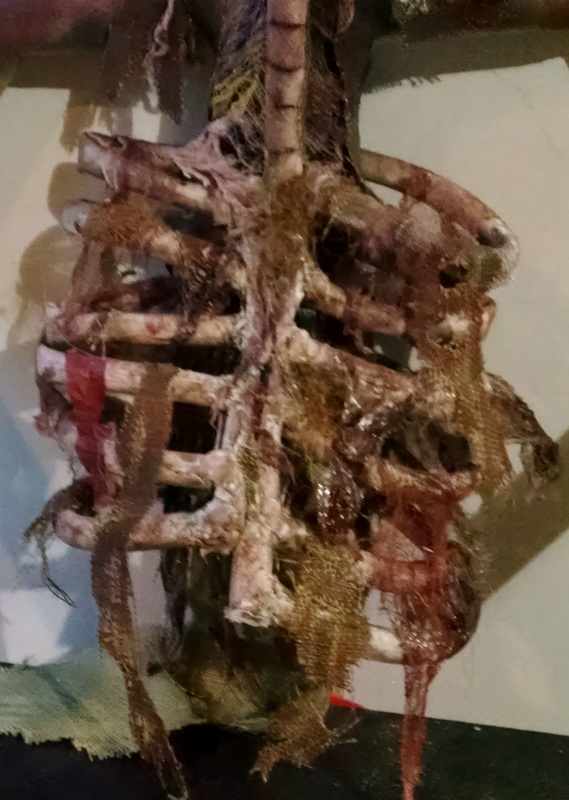
- Rubber yard hose. Cut it into 12 pieces ranging in length, 6-8 in.
- Clear zip ties - connected the left and right ribs together with these in a couple of spots
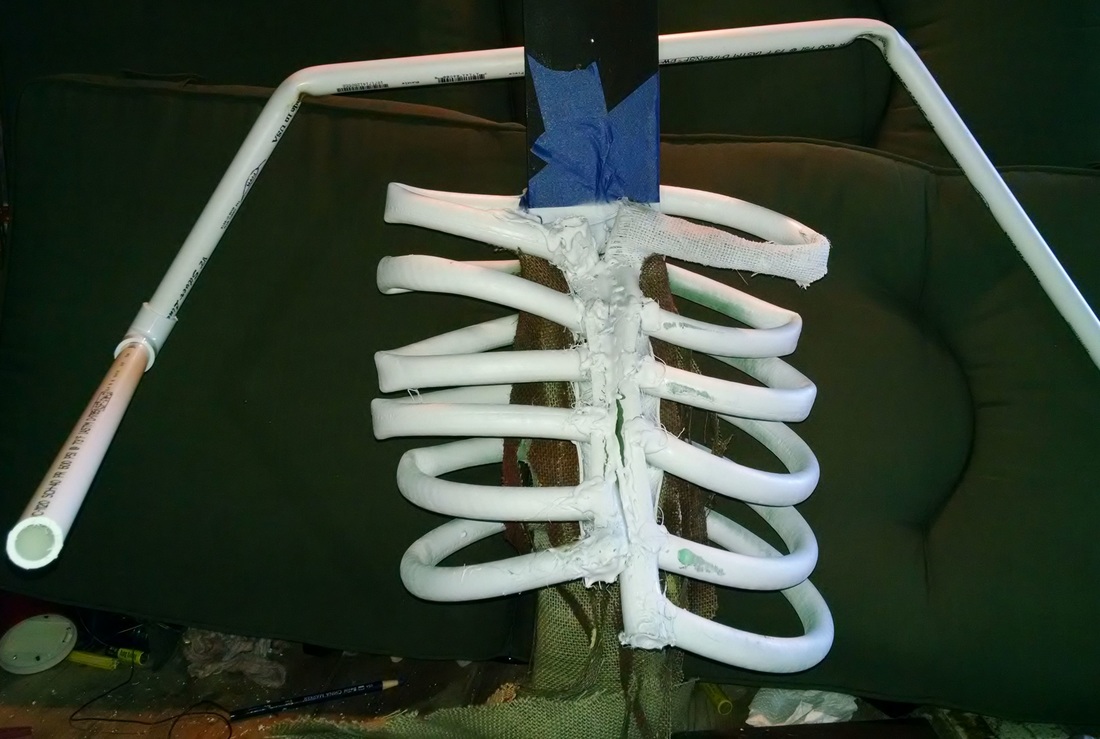
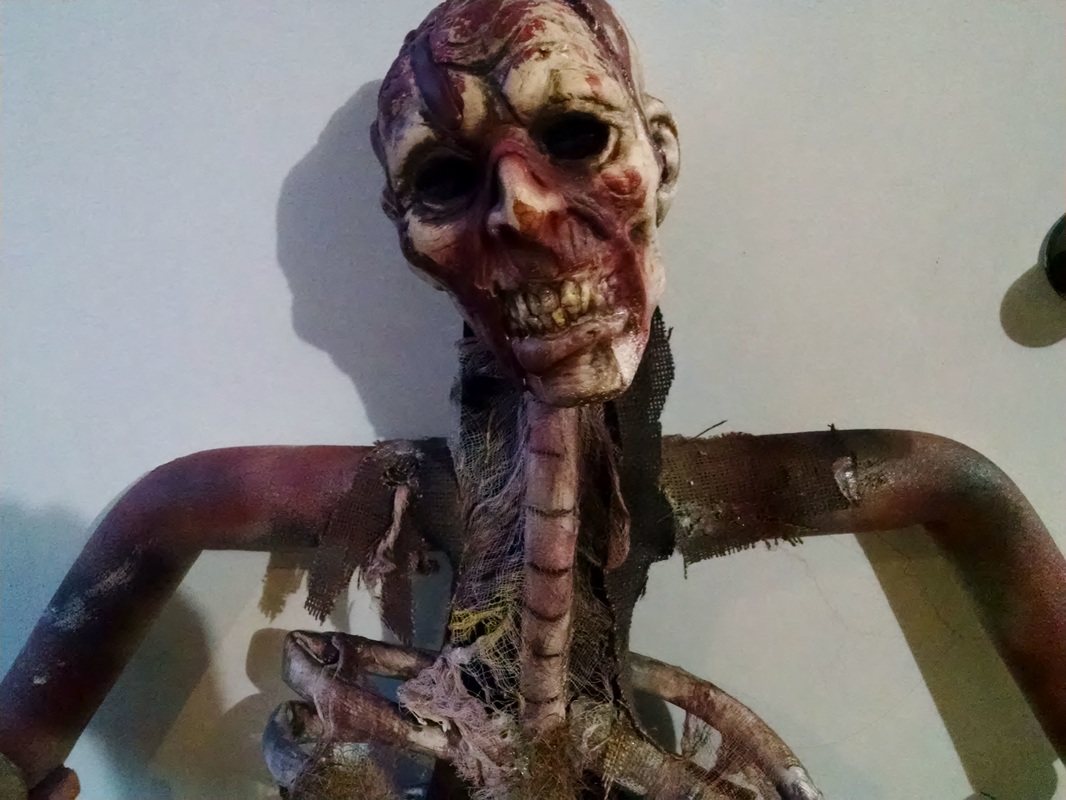
- 1/2 In. PVC - shoulders and arms
- PVC connectors allowing the shoulders to connect to the arms
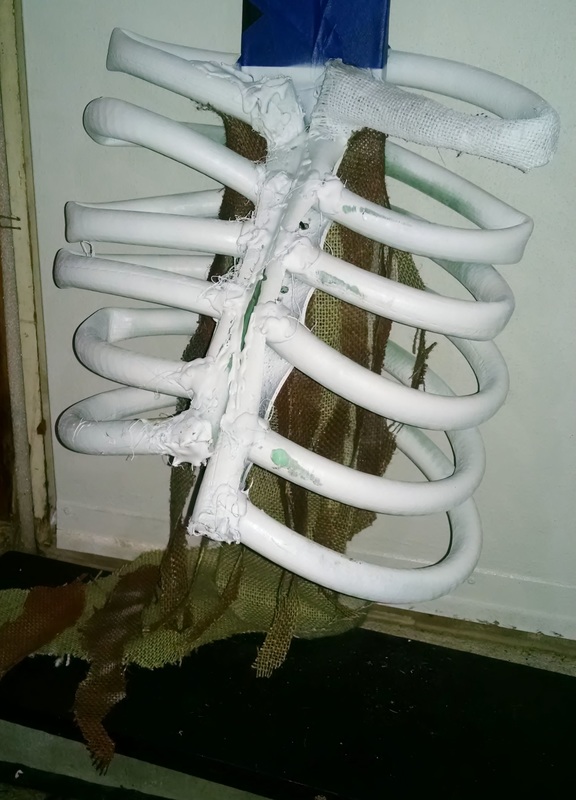
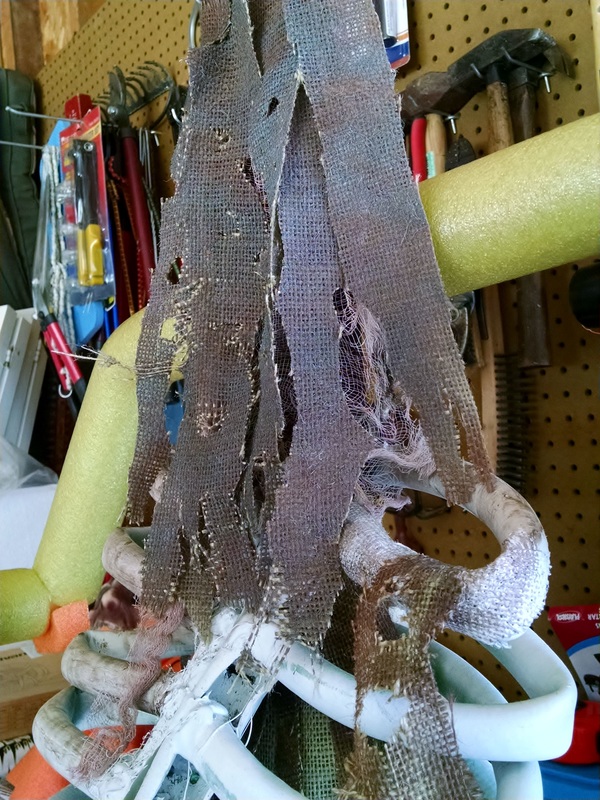
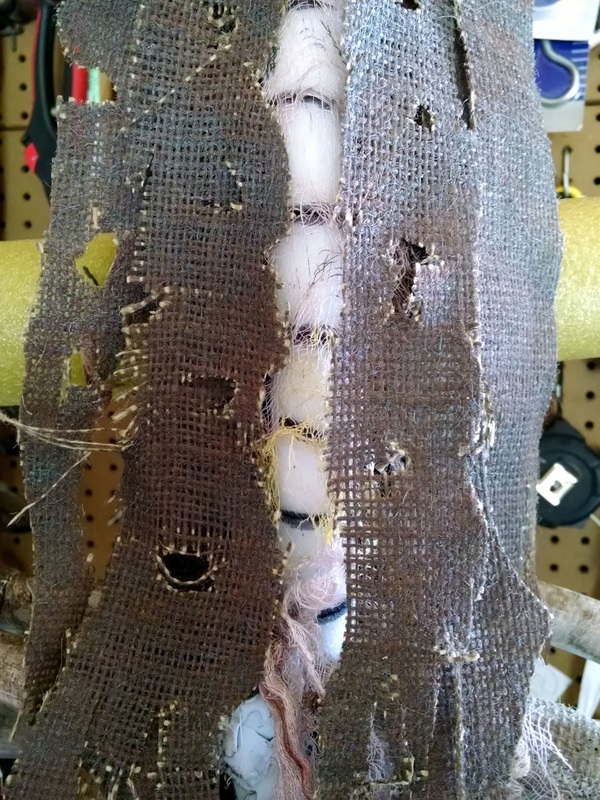
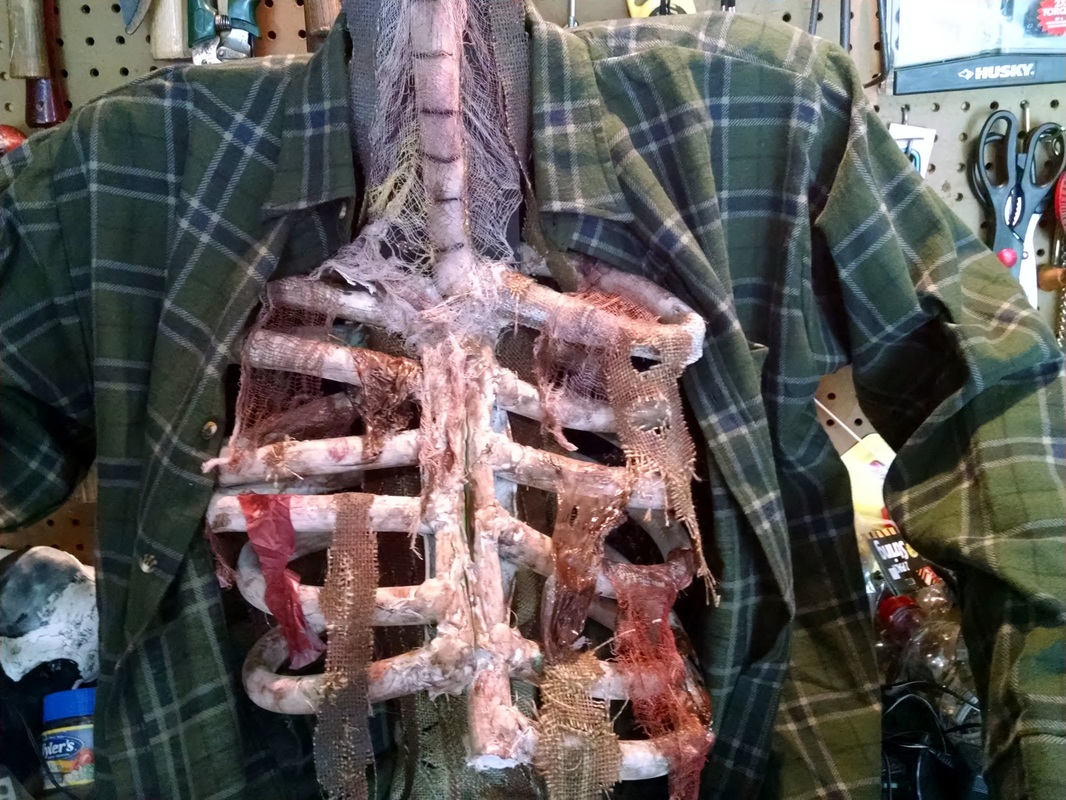
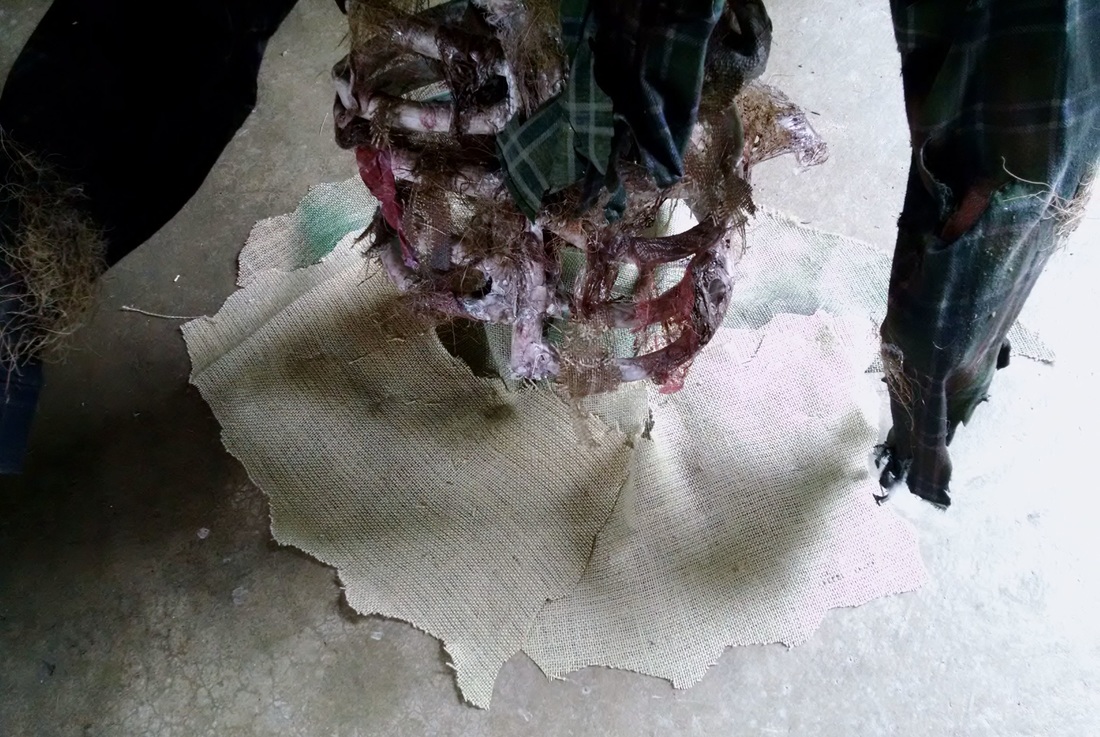
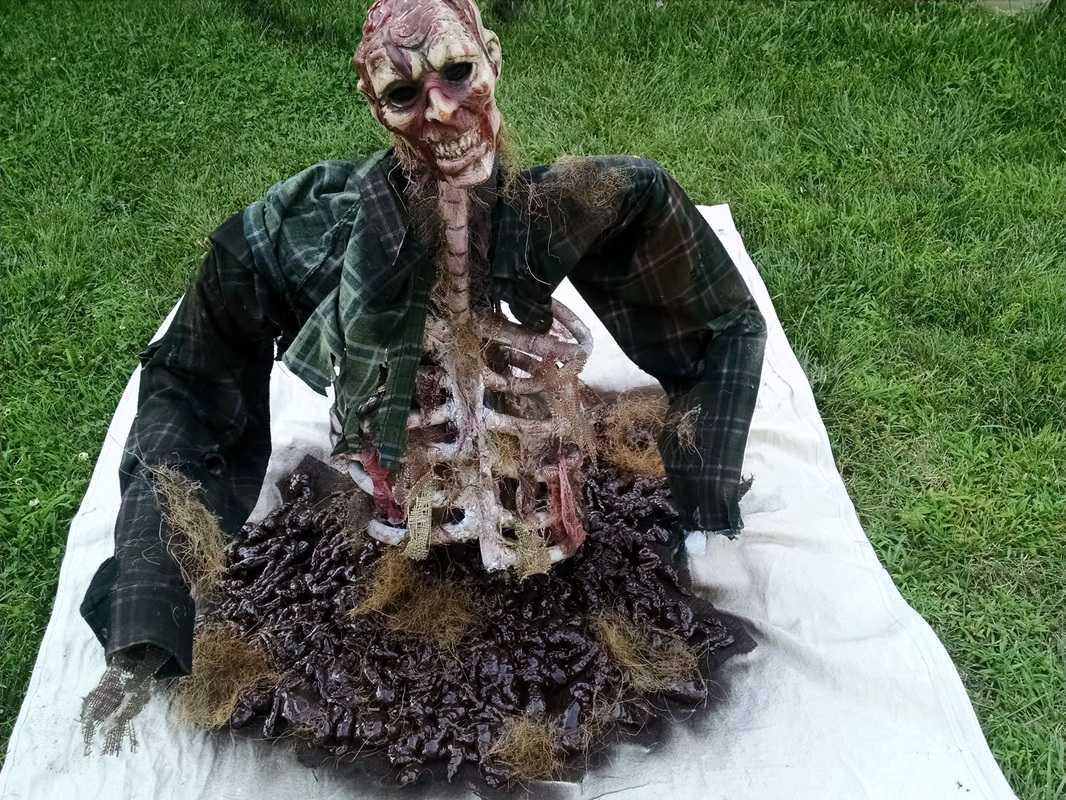
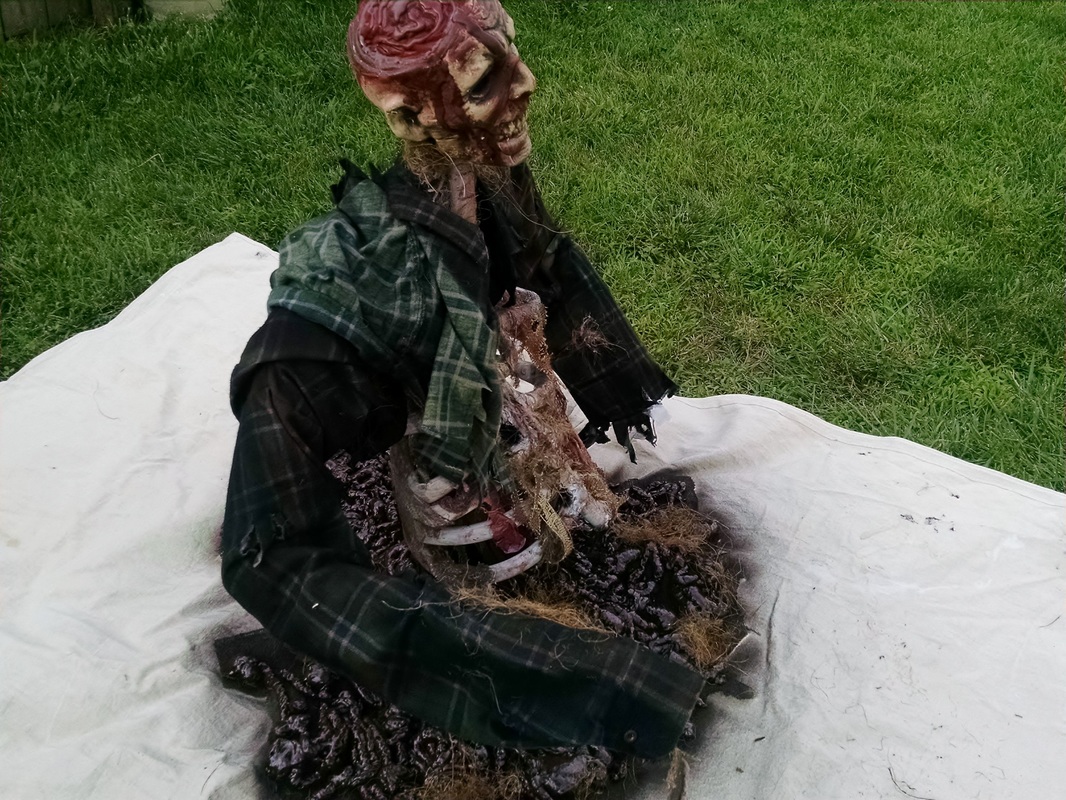
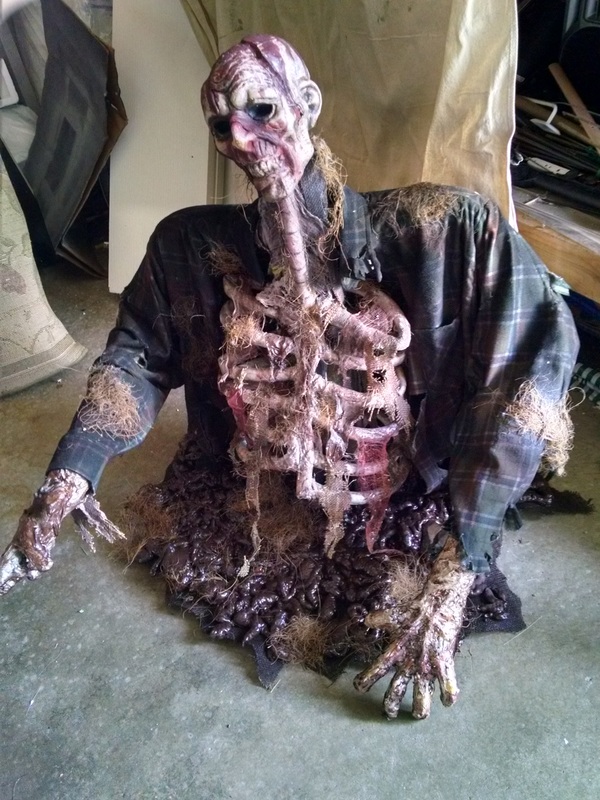
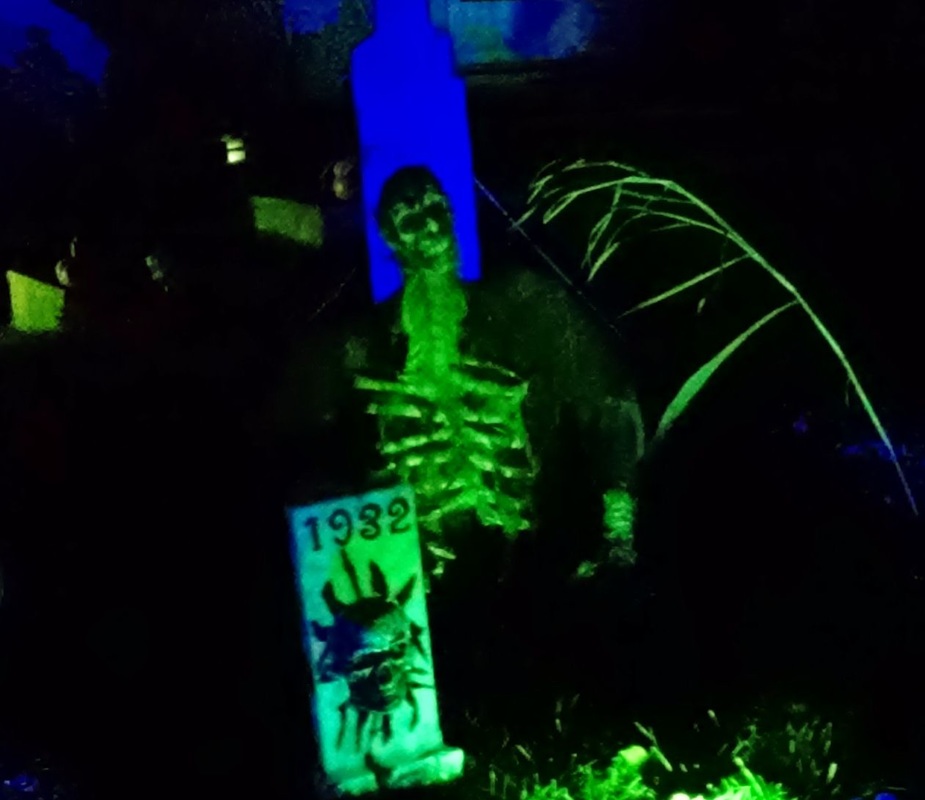
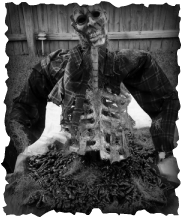
- Burlap - used for hanging rotting pieces on the ribs and to cover up the base and the wood where the ribs are connected to
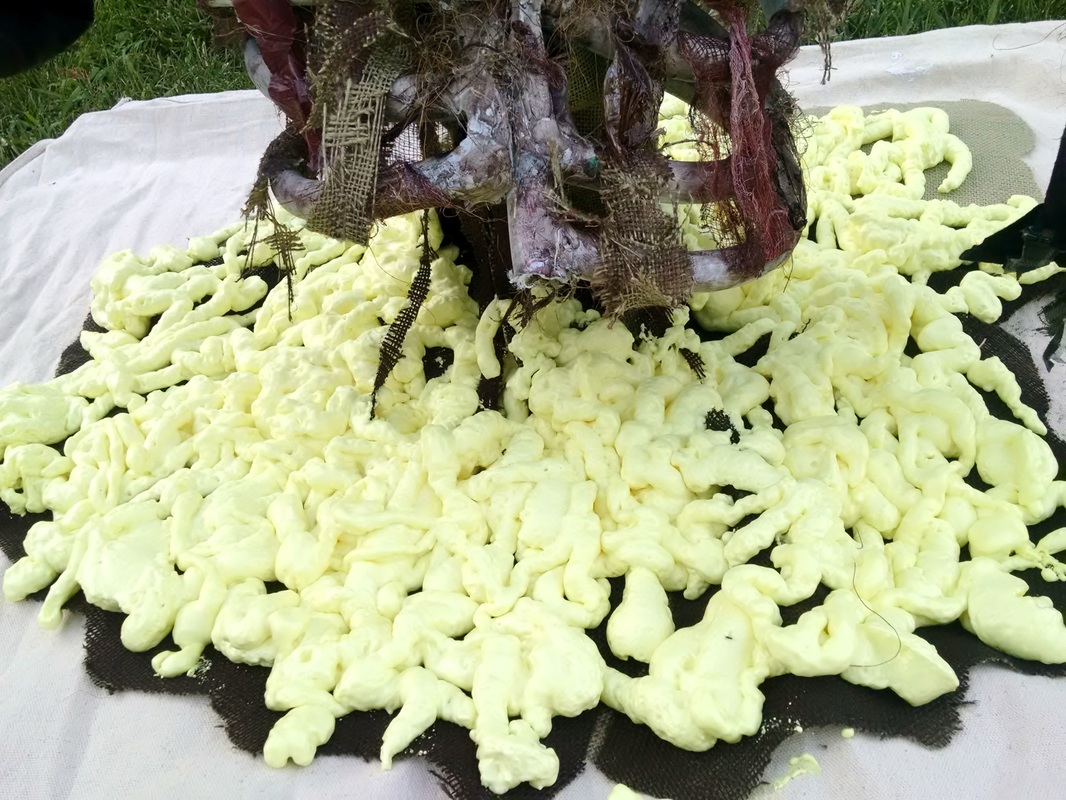
- Great Stuff expanding foam - used to simulate the ground (dirt) turned over from the ground breaker
- Cheese cloth - painted and used to hang from the ribs
- White spray paint for the ribs
- Brown stain gel - dry brushed this over the while ribs and over the other materials
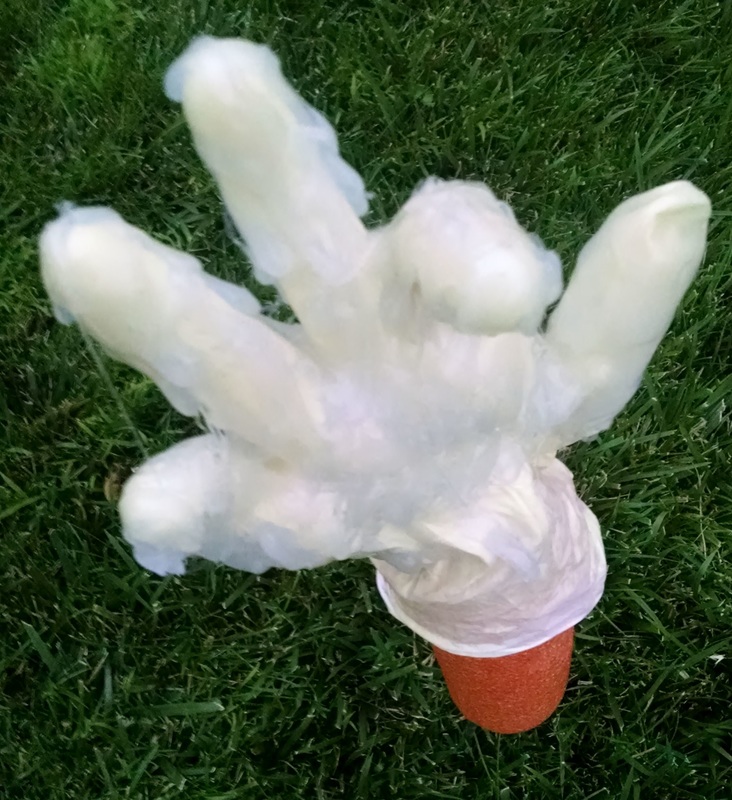
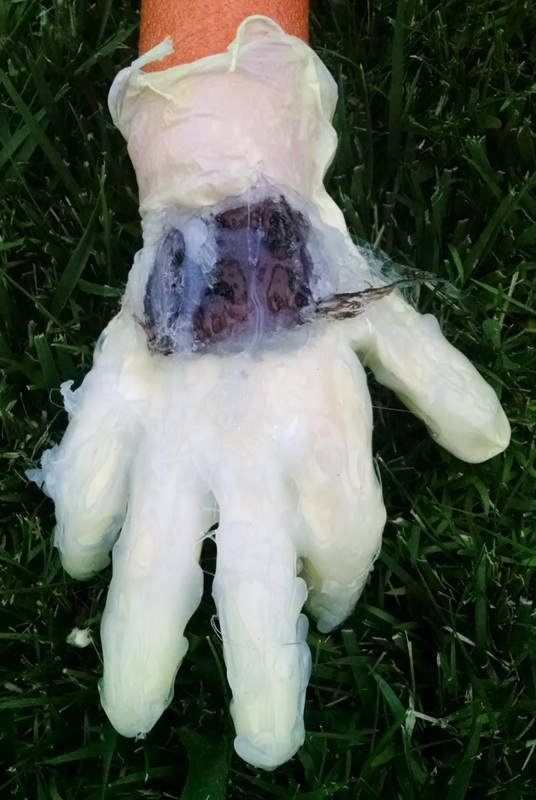
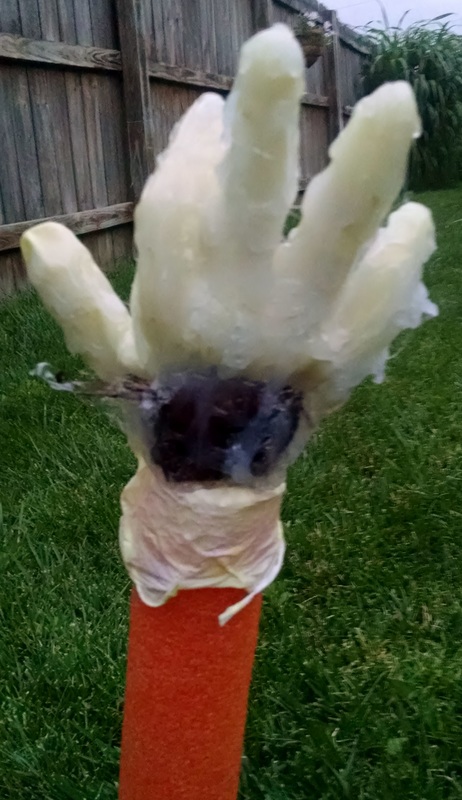
- Latex gloves - used when applying the stain gel and then cut a couple strips and painted to hang from the ribs. Then used another latex glove, filled it with Great Stuff foam, covered the outside with hot glue. Painted and that's the one hand. The other arm and hand, recognize it from previous post on here and YouTube? If not check out Decaying.
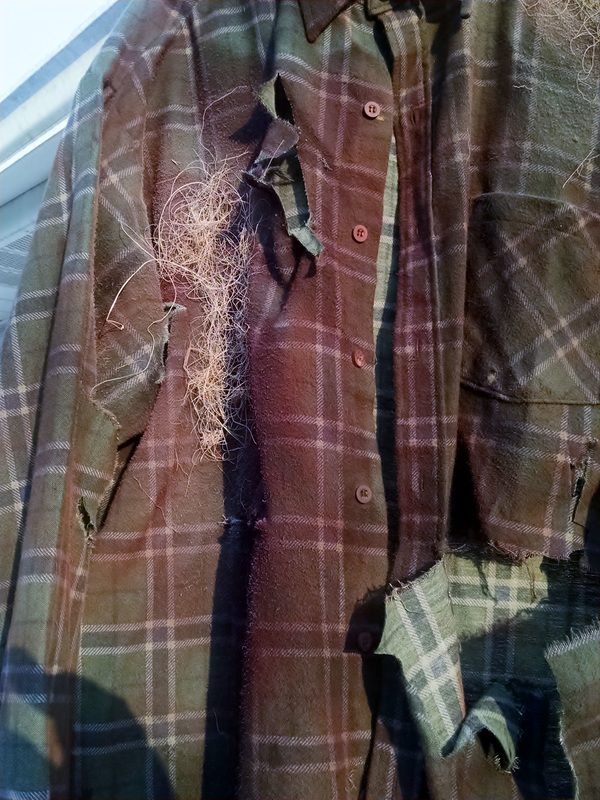
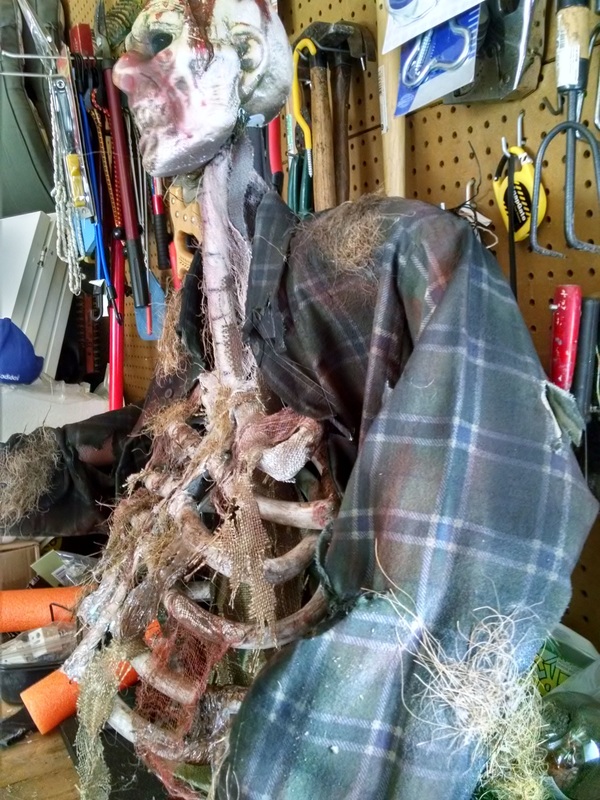
- Old shirt - tore it up and zombiefied it
- Coco Liner - yes the kind for hanging baskets. I saved some from last year and it was nasty and old looking. Applied that to the ground and the shirt along with the ribs and head in various spots
- Long scrap piece of Styrofoam and black marker. Used that for the Vertebral Column (I had to Google it, technical term for the spinal piece running from spine all the way up to the base of the skull).
- Styrofoam Head - purchased it for 25 cents last year on clearance. I mucked it up and modified it a lot with hot glue, paints,and stains.
- Pool noodles - cut slits in them and covered the PVC. Painted them so didn't show the pretty green and purple colors through the holes in the shirt.
- Two thin medal stakes. Drilled two holes at the upper top of the wood , placed the stakes in those. Then gently drove the head into the stakes to secure it.
It's a lot of pictures, but I wanted to share everything with you, where I had issues and also so you can see the progress.